The DataUpdater allows you to make bulk changes to documents or the product master. For example, this enables you to simultaneously increase the price of a product in multiple contracts by a specific percentage or to a fixed amount. Use of this module should be restricted to administrative or managerial roles and should not be made available to all employees.
Checklist - Requirements
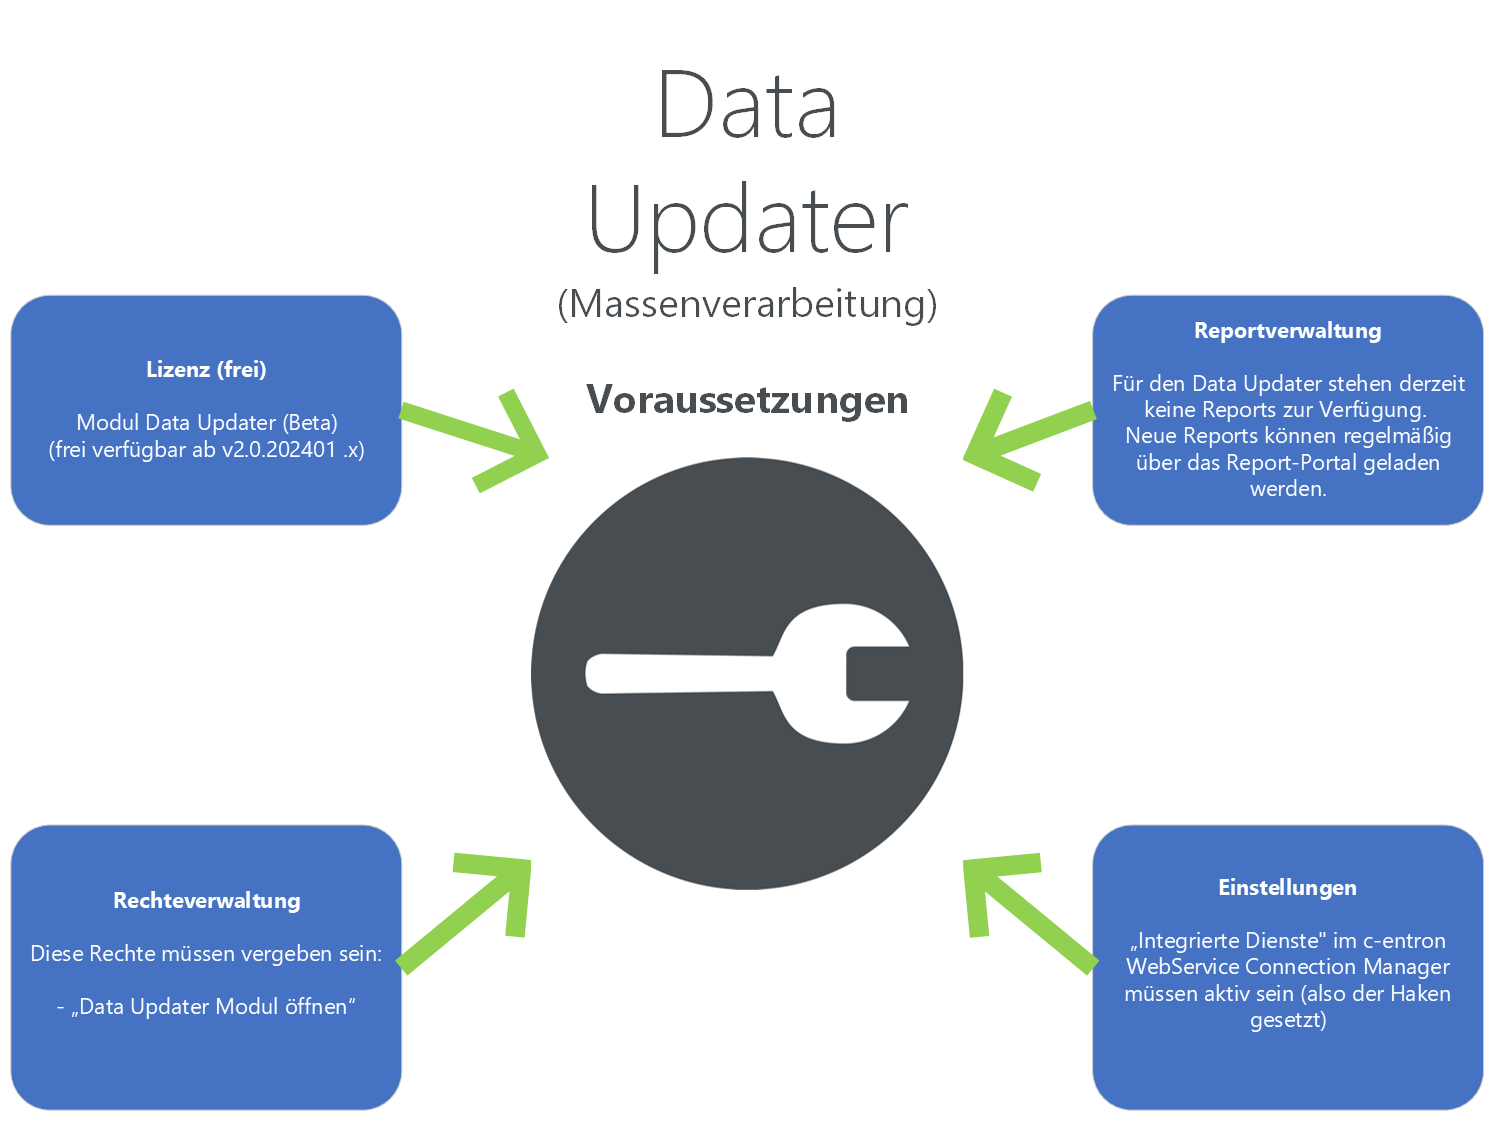
Before you can use the Data Updater, please review the following points, which we have listed below as a checklist:
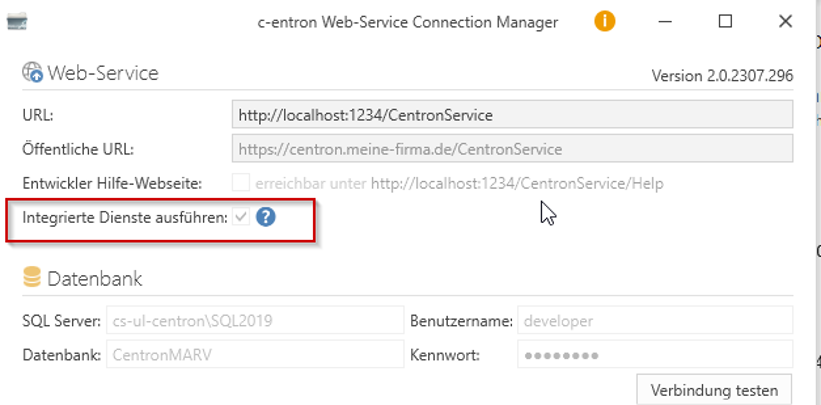
Integrated Services
Make sure that the "Integrated Services" option is enabled in the c-entron WebService Connection Manager by selecting the corresponding checkbox.
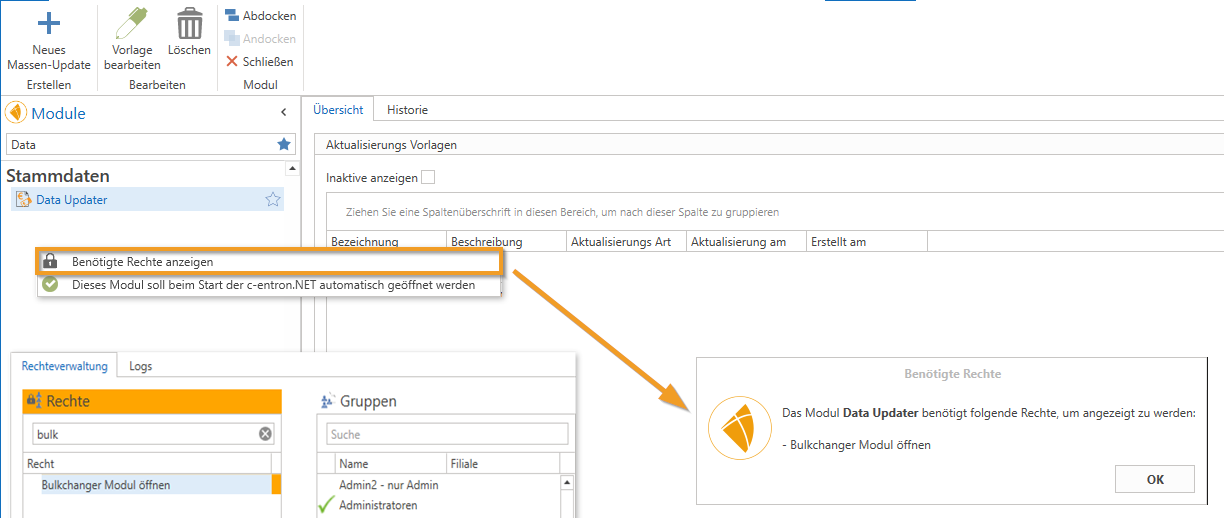
Rights
For this to be displayed to the user, the "Open Data Updater Module" permission must be granted.
NOTE: The module is limited to administrative or managerial roles and should not be enabled for all employees in order to ensure secure use.
"Data Updater" Module
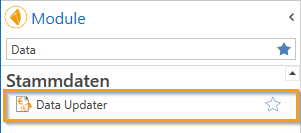
The "Data Updater" module can be found under Master Data in the Modules section.
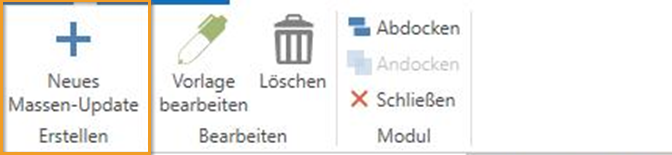
After launching the module, you can click the Button[New Mass Update] Open a window to create an update template. This template can be saved and run immediately, at a later time, or on a scheduled basis.
Step-by-step instructions:
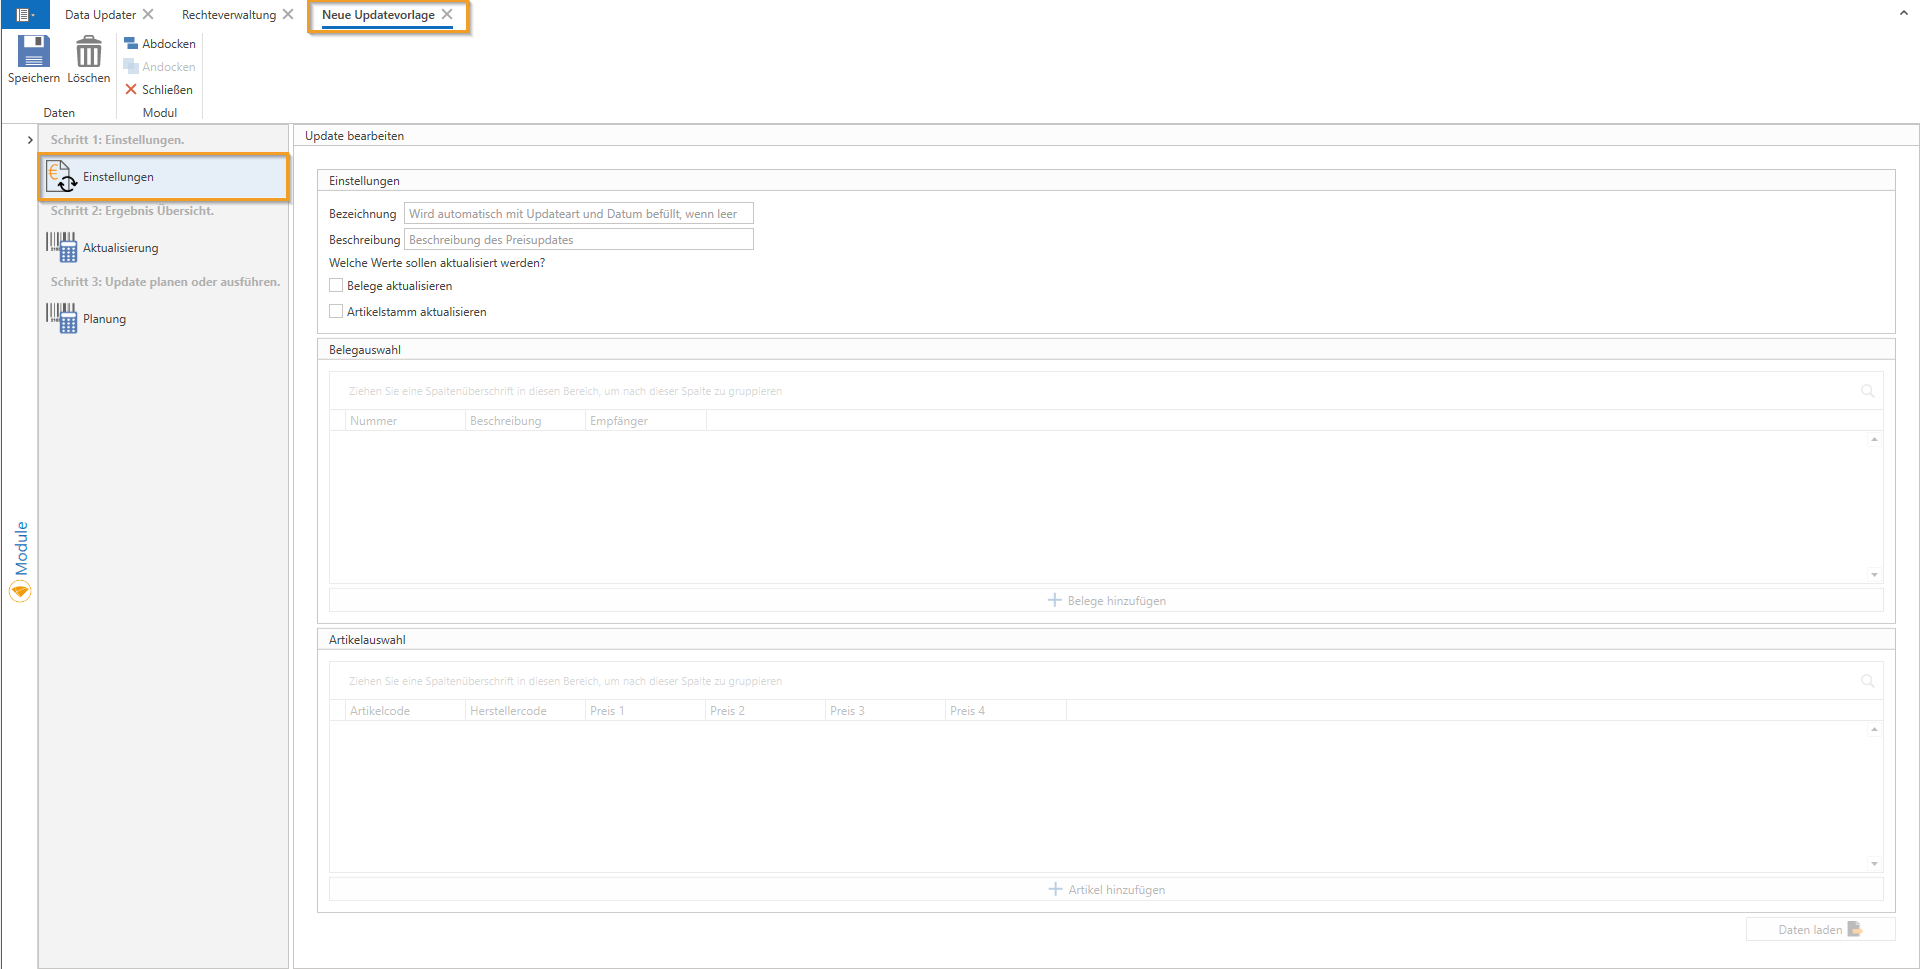
Step 1: Settings. - Data Selection
In the new update template, you have the option to create a “Name“ and a “Description“ to provide a clearer overview and make it immediately clear what the update template is intended for. An example might be: “3.5% rent increase for Canon printer.”
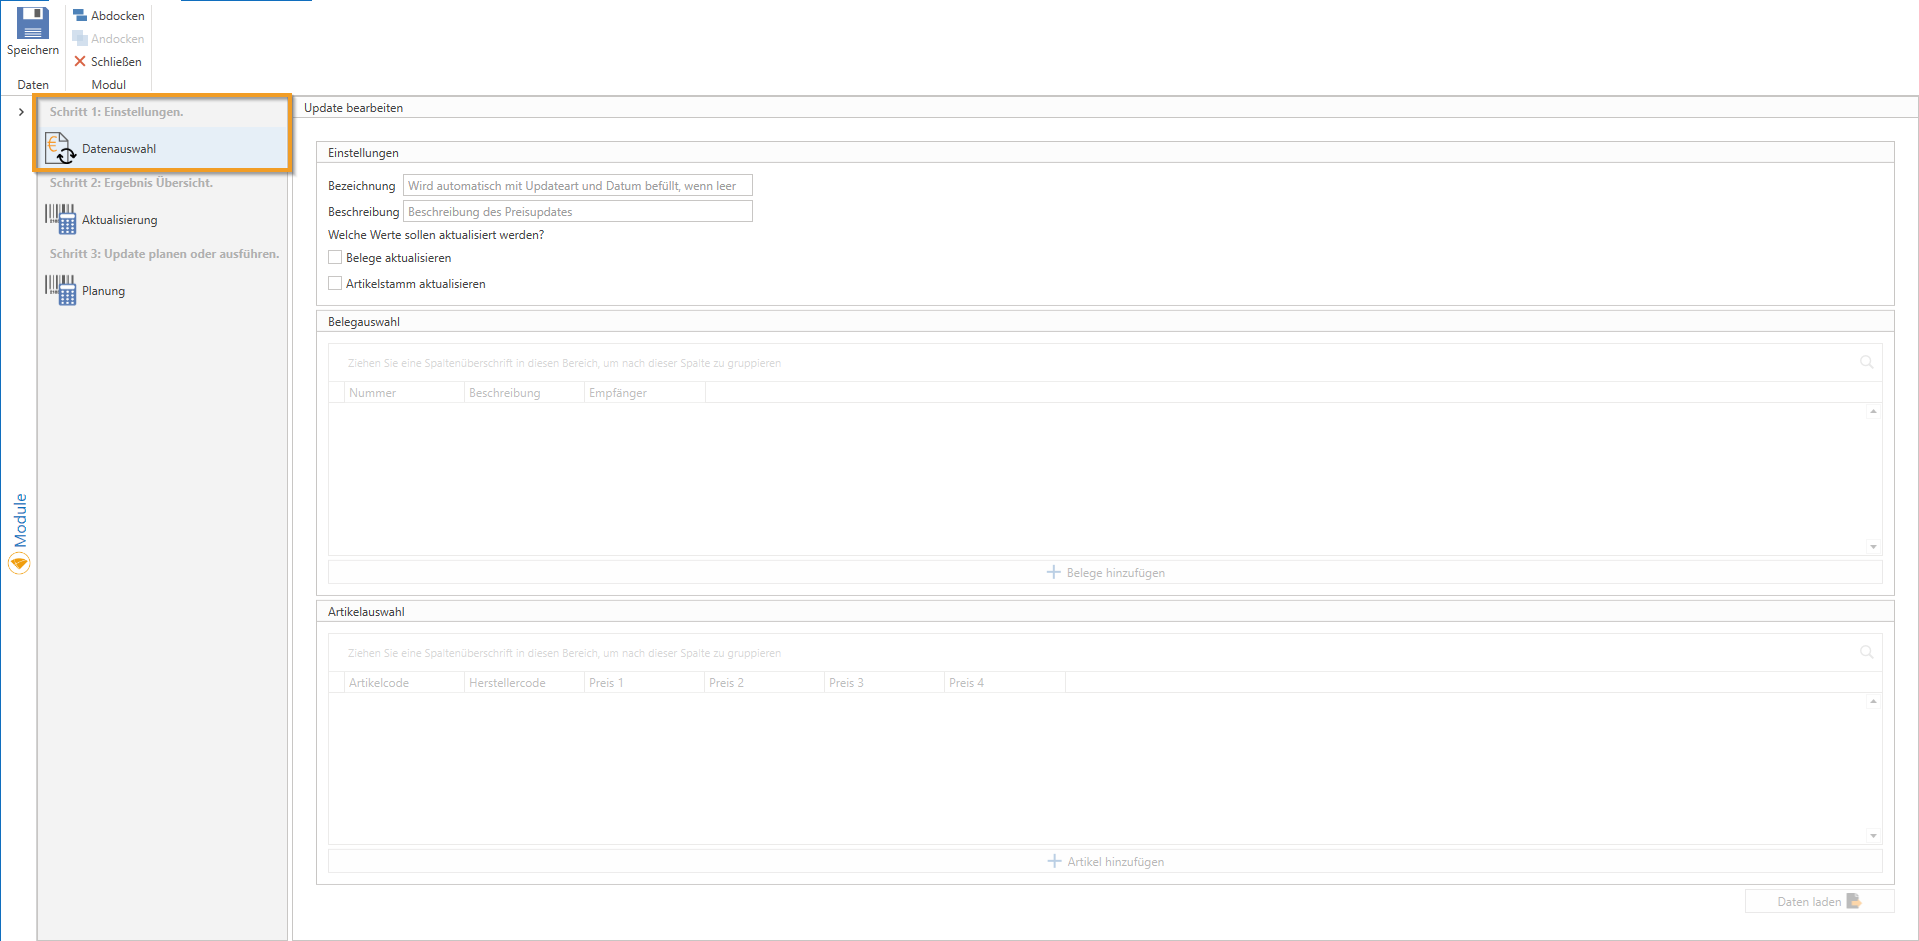
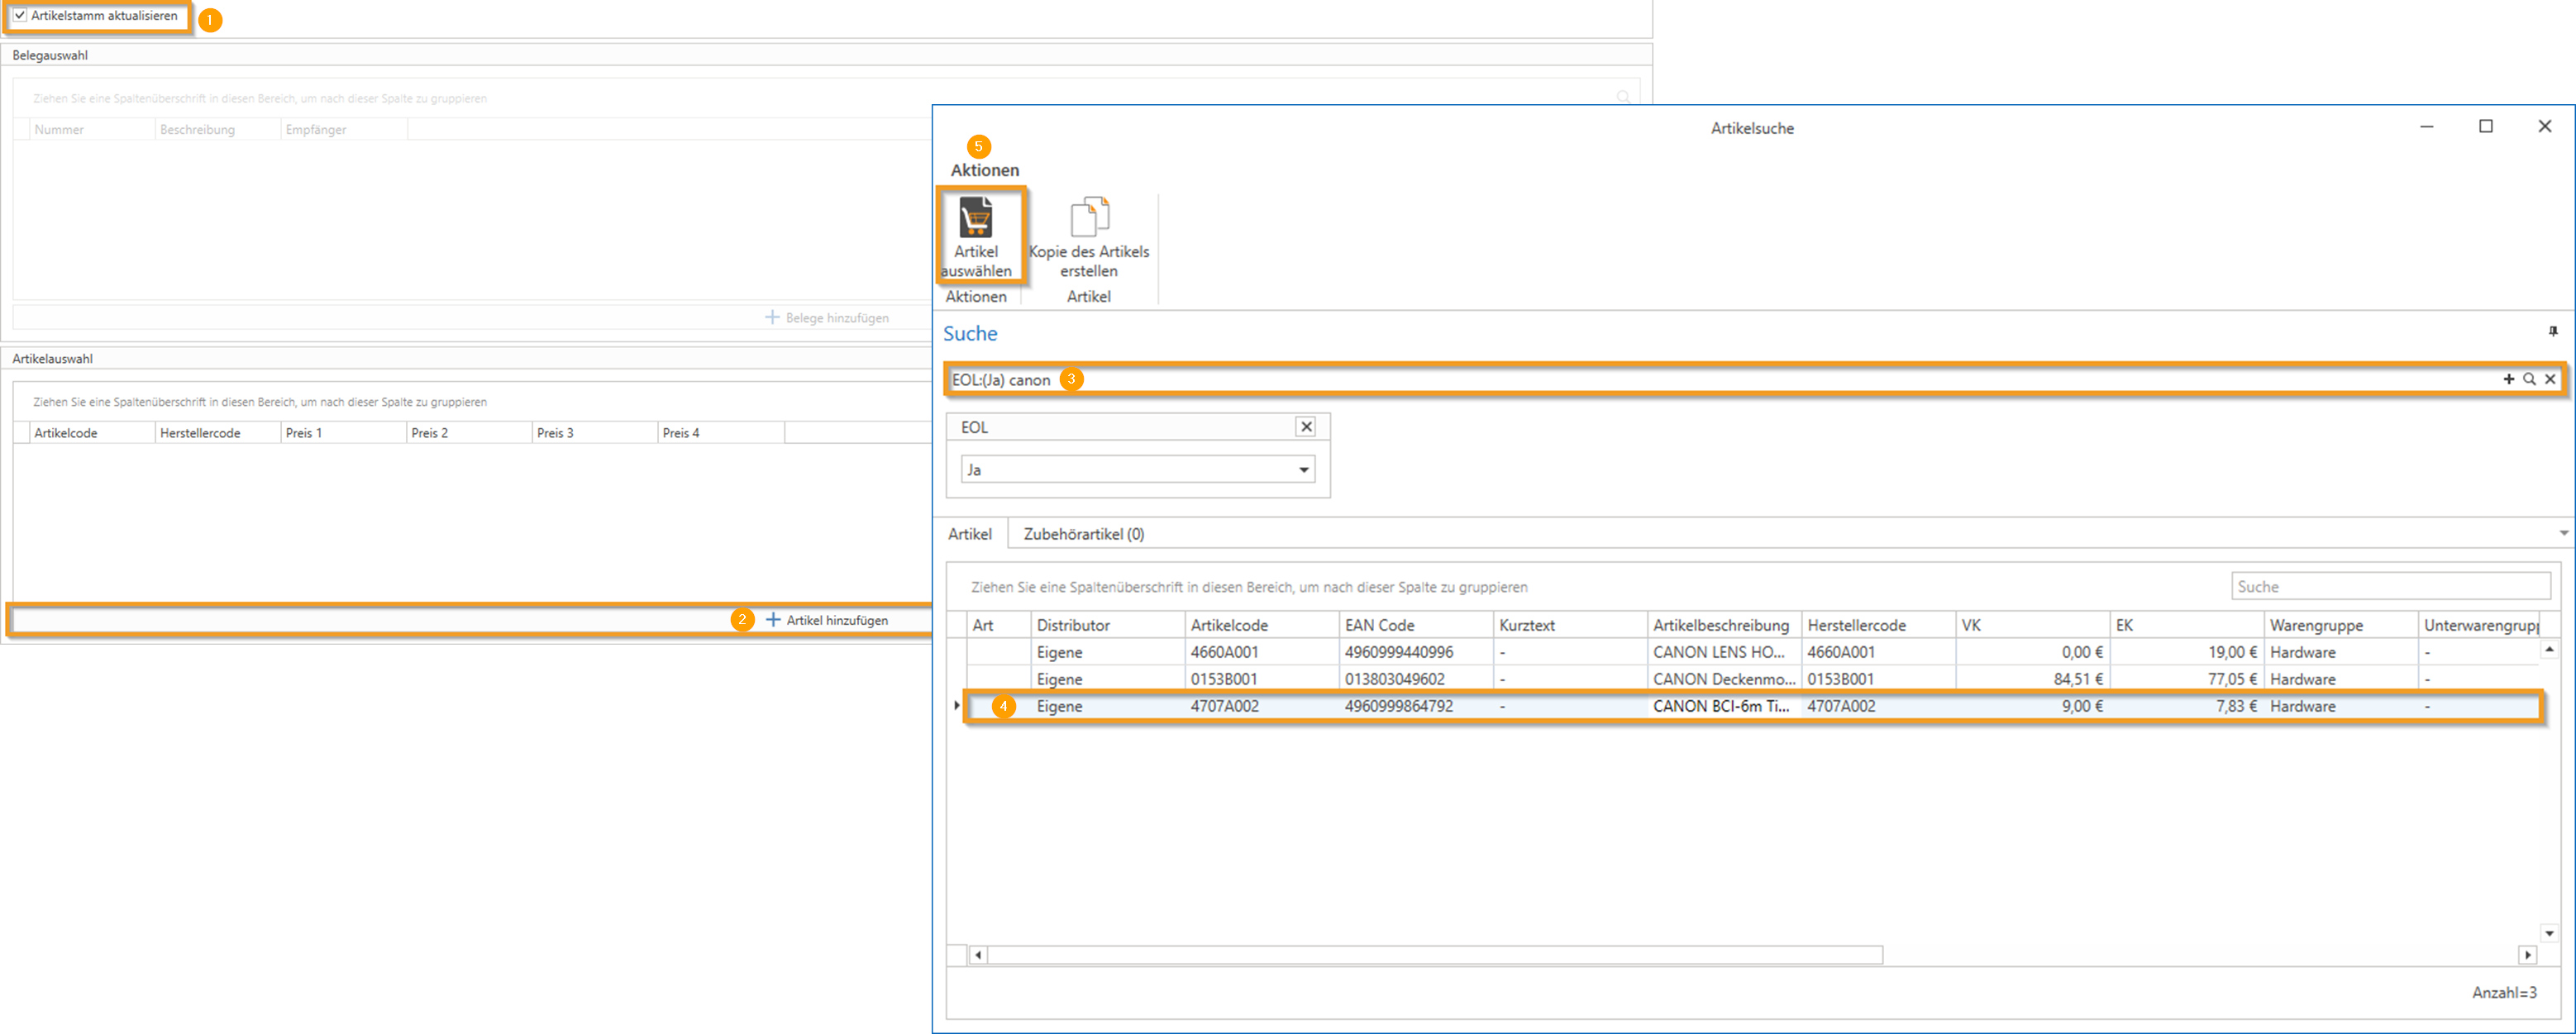
For each update, you can either Receipts (quotes, orders, delivery notes, and contracts) or the Product Master be updated. Click "Add Documents/Items" to load the relevant data.
NOTE: If a document contains multiple items, it is not necessary to update each item individually. In the next step, you can select which items should actually be updated.
Example: "Update Documents"“:
Example: "Update Article":
Through [Loading data] This will take you to the next step.
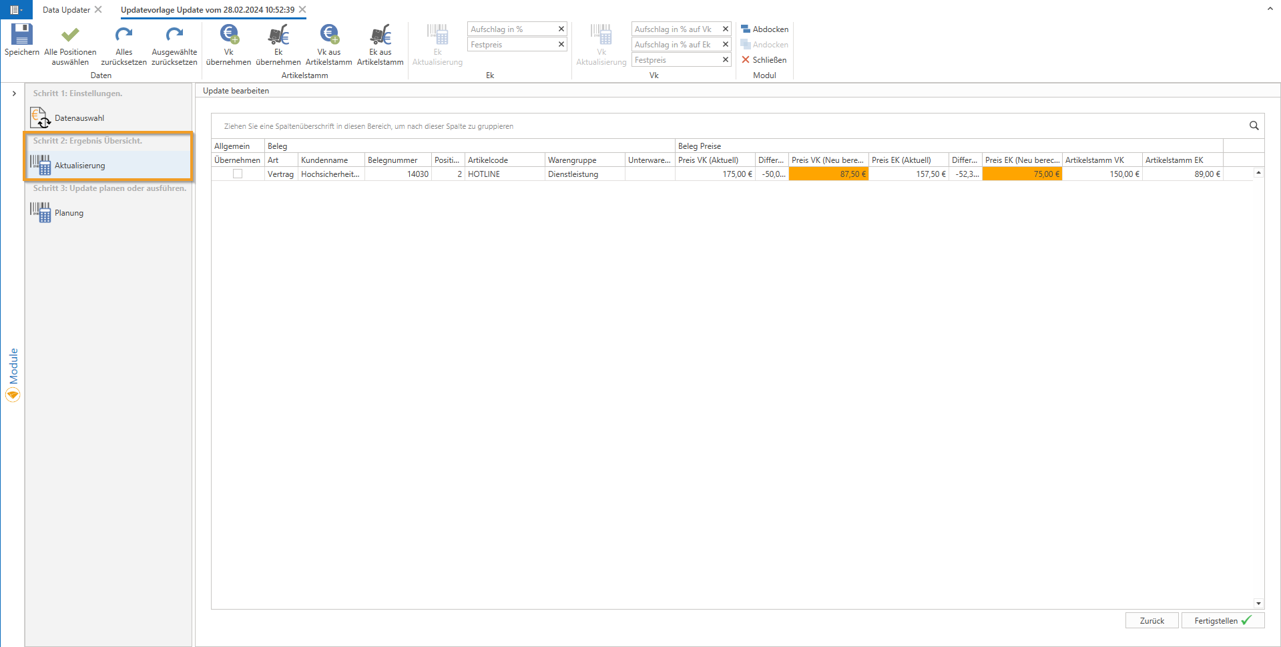
Step 2: Results Overview – Update
Once all the data from the selected documents or the product master has been displayed, here is a brief explanation of the available buttons to help you get a better overview:
Save: This button saves the current template.
Select all items: This button allows you to select or deselect all items at once.
Reset everything: If you are not satisfied with the changes you have made, this button will reset the data to its "initial value."
Take over VK: Copies the selling price (SP) from the selected data.
Take over EK: Retrieves the purchase price (PP) from the selected data.
Sales volume from the product master: Retrieves the selling price (SP) from the product master.
Cost of Goods Sold from the product master: Retrieves the purchase price (PP) from the item master.
Now let's focus on the module's core function: updating purchase prices (PP) and selling prices (SP).
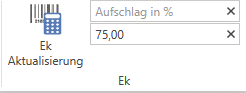
In the "Update EK" section:
Markup in %: Here, the cost price can be increased by a percentage, with up to two decimal places allowed (example: cost price of €10.00 -> increase of 10.10% -> new cost price of €11.10).
Fixed price: Sets the cost price to the specified fixed price (example: cost price of €10.00 -> updated to €20.00 -> new cost price of €20.00).
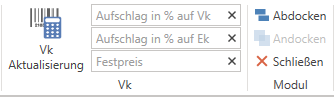
In the "Update VK" section:
Markup as a percentage of the retail price: Here, the selling price can be increased as a percentage of the current selling price, with up to two decimal places allowed (example: selling price of €100.00 -> increase of 10.10% -> new selling price of €111.00).
Markup as a percentage of cost: Here, the selling price can be increased as a percentage of the current cost price, with up to two decimal places allowed (example: selling price of €200.00 and a cost price of €100.00 -> increase of 10.10% -> new selling price of €211.00, since 10.10% of the cost price was added).
Fixed price: Sets the selling price to the specified fixed price (example: selling price of €10.00 -> updated to €20.00 -> new selling price of €20.00).
The table clearly displays all relevant data—such as item code, current retail/cost price, difference, and recalculated retail/cost price—and highlights them visually.
NOTE: Only those items for which the "Apply" checkbox is selected will be updated and applied. By clicking on "Finish" The settings for the selected items will be applied (check the "Apply" box), and you will proceed to the final step.
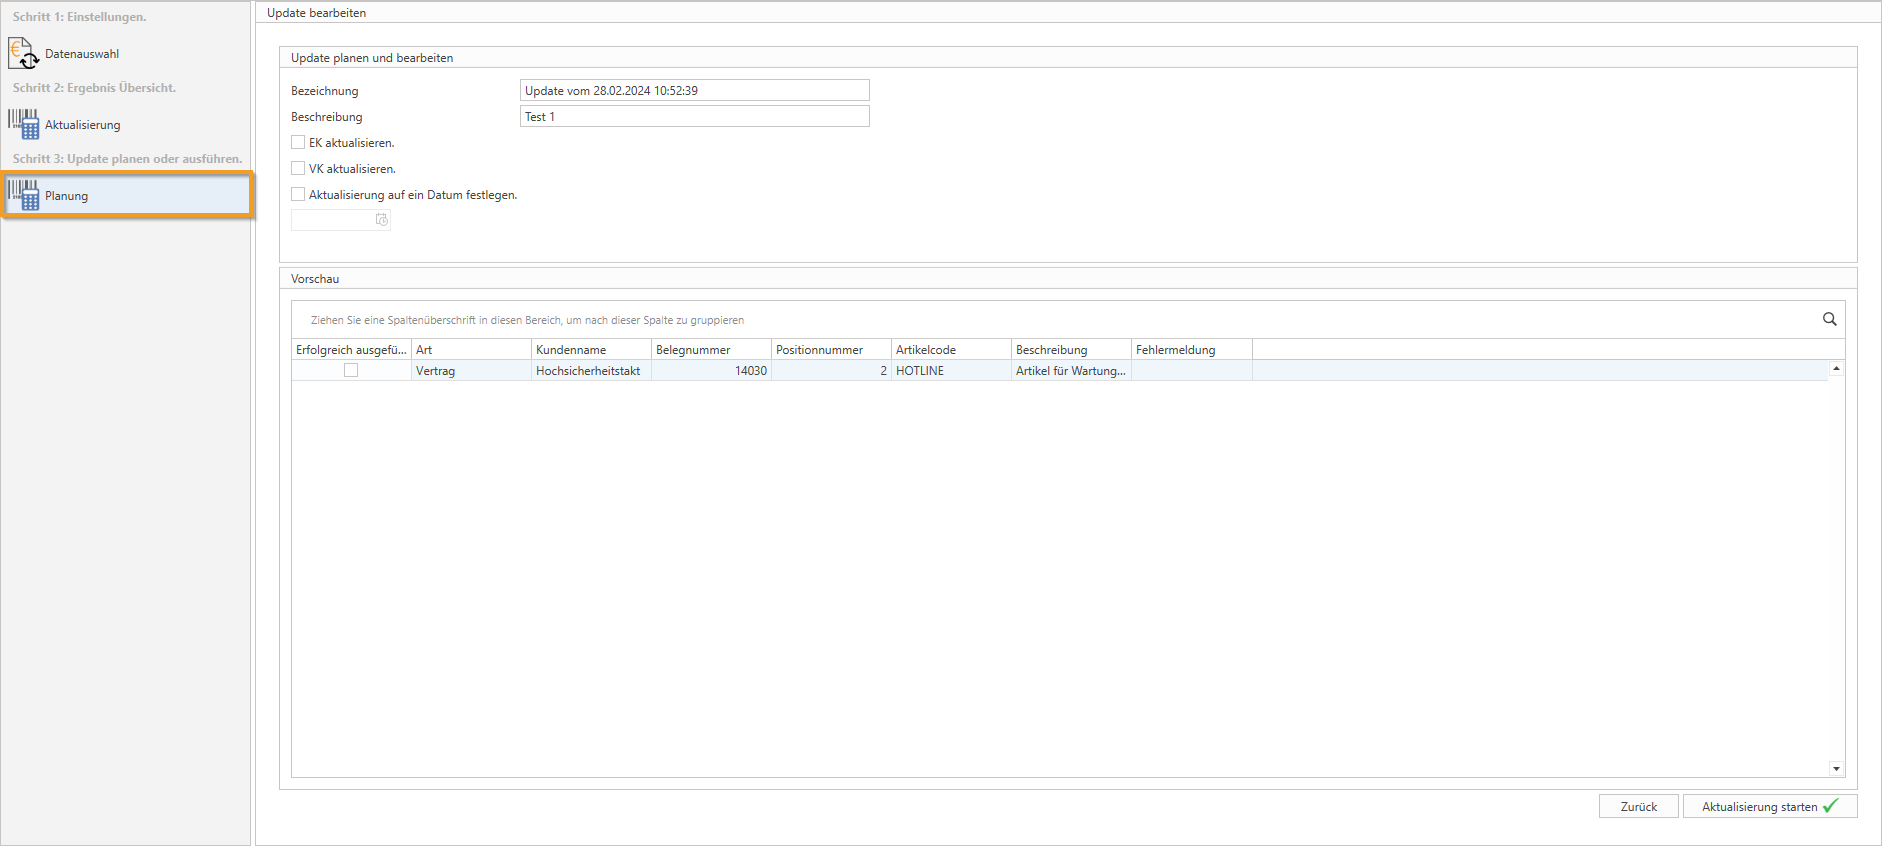
Step 3: Schedule or run an update - Scheduling
Once you have specified that the purchase price (PP) and/or sales price (SP) should be updated, you have the following options for implementing this (prerequisite: WebService integrated services must be enabled):
If you want the update to take place at a later time, you can set the date and time. Once you have saved the template, you can close the window.
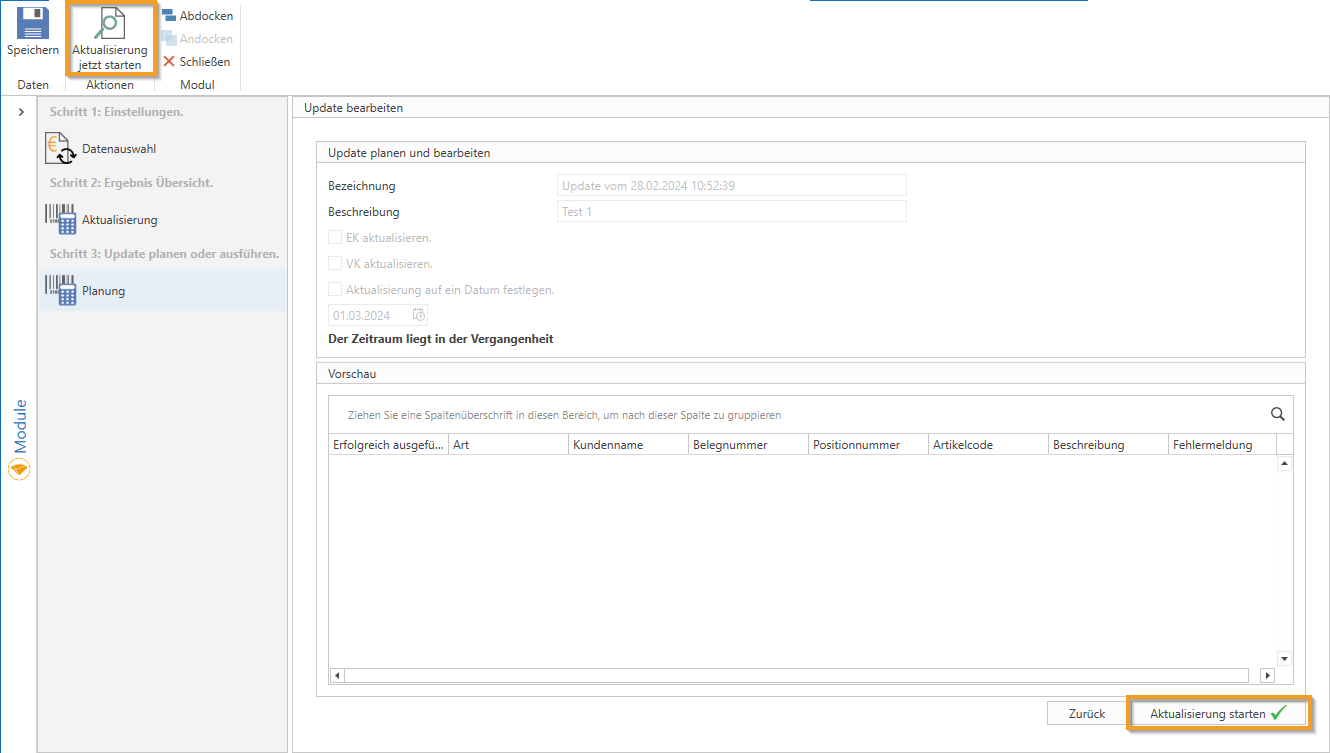
If you want the update to be performed immediately, you do not need to specify a date. By clicking on "Start Update" (bottom right) or the button "Start the update now" The update will be performed immediately.
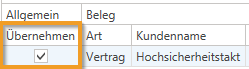
In the column "Successfully completed" Execution is confirmed by checking the box.
You can then close the window.
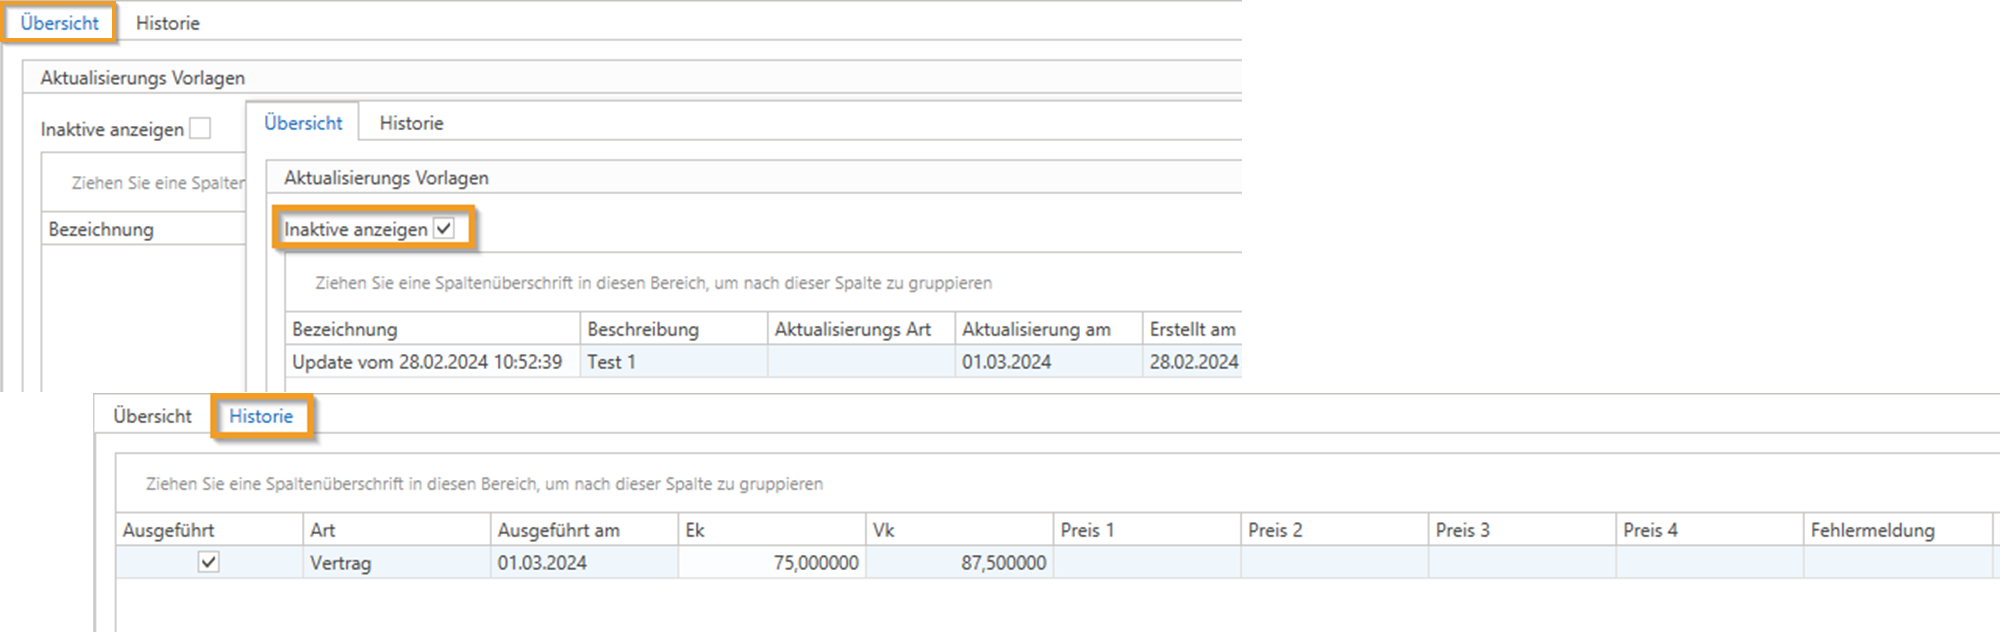
Scheduled update templates are visible in the module and can be edited further. Update templates that have been executed are referred to as “inactive” marked. Via the "History" tab you can track the history of the updates that have been performed.
JavaScript errors detected
Please note, these errors can depend on your browser setup.
If this problem persists, please contact our support.
%20(1).png)