%20(1).png)
Password manager
🆕 Starting with Service Pack 1 v2.0.2605.x
The deadline for using the password manager in "read-only" mode has been extended once again and postponed to "later." The password manager can then be used again in c-entron.NET to edit, create, or delete accounts.
🆕 Starting with release 2.0.2605.x
The c-entron Password Manager has been discontinued and is no longer used for password management. Starting with release 2605.x, you can no longer create or edit accounts; existing data can only be viewed. Management is now handled through synchronization with the Pleasant Password Server. In a later step, the account data and the password manager will be completely removed.
A guide on how to use the Pleasant Password Manager Tool You can find out how to easily import your c-entron Password Manager data into the Pleasant Password Server here: Transfer Tool Pleasant Password Manager
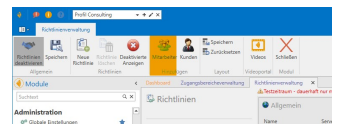
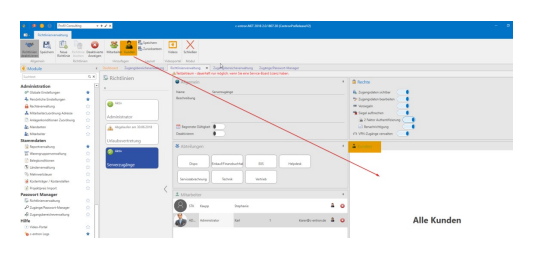
1. Entrance Area Management
Under the "Password Manager" menu item, you will find the menu item "Access Control Management“
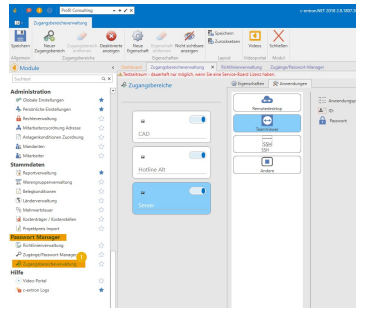
First, access templates (e.g., for servers) are stored here.
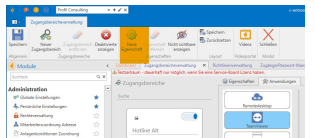
Click "New Access Area" to create a new access area (template).
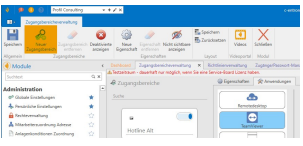
The created templates are then populated with properties (e.g., server name, username, password, etc.)
Click "New Property" to create a new property.
Each of these properties must be assigned a data type (e.g., integer, text, etc.)
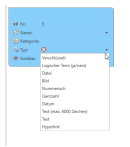
Encrypted
The encrypted function displays the password in a masked form.
Logical term (Yes/No)
For this type, a checkbox is selected
File
You must select a file here.
Image
An image must be uploaded here
Numerical
You must enter a number, such as an IP address
integer
This field requires a whole number (no periods or commas), e.g., a phone number
Date
A date must be entered: xx/xx/xxxx
Text
A short text must be entered
Text (max. 400 characters)
You can enter a long text (400 characters) here
Hyperlink
A hyperlink to a website must be provided
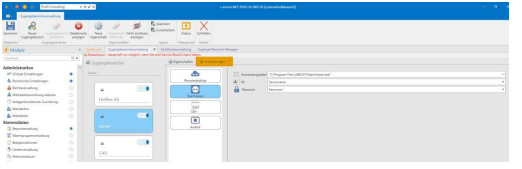
You can then assign an "application" (e.g., TeamViewer, Remote Desktop, etc.) to this access area. Using these applications, you can then connect directly to the target object via the access area.
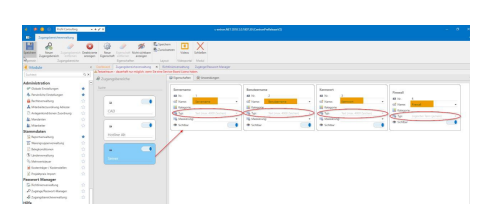
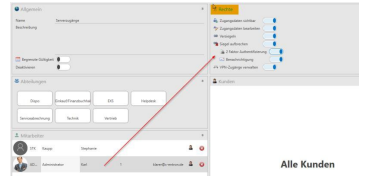
2. Policy Management
In Policy Management, a policy is now created for the access area that was previously set up. This policy allows you to make the access areas and their associated access points and applications available to specific departments or employees. You can also assign the access area to specific customers.
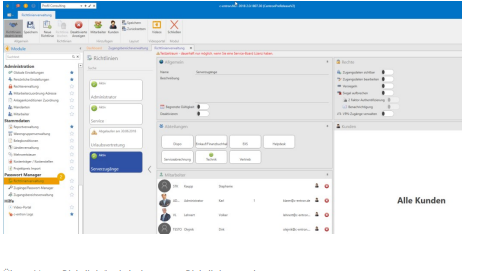
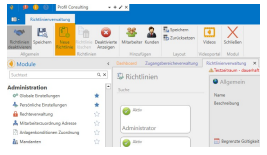
Select "New Policy" to create a new policy.
You may then assign a limited validity period and one or more departments to this policy. To grant a department access to this access area, simply select the relevant department under the “Department” heading. If you wish to make this available to individual employees in addition to departments, you can do so via “Employees.”
Each of the registered employees can be assigned individual permissions via the "Permissions" section (e.g., view login credentials or change login credentials).
Rights: Login credentials visible
The employee can view the login credentials but cannot change them
Edit login credentials
The employee can view the login credentials and also edit or change them
Seal
Each account can be sealed. Once a password has been sealed, only an employee with the "Break Seal" permission can view it. With the "seal“the employee can reseal the broken seal.”
Break up the frost
Since every access point can be sealed, this right also allows the employee to break the seals. This right can be further subdivided.
o Two-factor authentication
In this case, the employee who breaks the seal must authenticate themselves again.
o Notification
This feature notifies all employees who have the permission to "break seals" whenever a seal has been broken by a colleague.
Manage VPN Access
With this permission, the employee can also manage the "applications" associated with access rights (e.g., VPN, etc.).
If these access permissions or this policy do not apply to all customers, you can use the "Customers" option to apply them to specific customers. If no customer is selected, this policy will be applied to all customers.
3. Logins / Password Manager
The employee must log in here before being granted access. Next, a customer can be selected under “Customers” and assigned to a previously created area. The access area can now be assigned to the customer via “New Access.”
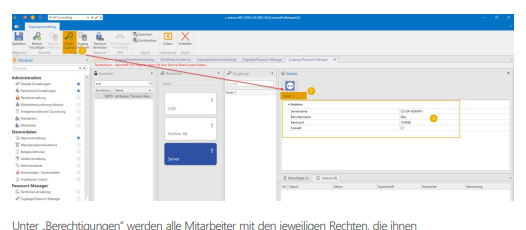
The "Permissions" section displays all employees along with the specific permissions assigned to them via "Policy Management."